PhotobucketPhotobucketPhotobucketPhotobucketPhotobucket
Showing posts with label Fabric Dyeing. Show all posts

Monday, November 22, 2010

Dyeing Wool On the Stove (AKA How to dye wool when you don't have a front loader!)

I promised a long time ago to post a tutorial on how to dye wool over the stove and finally here it is!!

My preferred method for dying wool blend (95% wool, 5% lycra) is in the top-loading washing machine, you get the most even coverage and very rich colors. However, you can't dye 100% wool interlock in the washer because it over-felts and not everyone has a top-loader so here is the tutorial for those who want to dye on the stove top. I happen to be dyeing 100% wool jersey here.

This would also be a great way to dye a wool sweater or something else already knit up.

Following these techniques I have been able to achieve very even dye jobs, I have really fine tuned these steps so I would suggest following them fairly closely:)

First get your materials:

-Large pot, the larger the better, the more room the wool has to move the more evenly the dye job
-acid dyes (I buy Jacquard acid dyes from Dharma Trading)
-vinegar (white from the grocery store)
-small spoon for adding the dye
-large spoon for stirring the wool
-1 cup measuring container for the the vinegar
-synthrapol or dish soap (to remove any excess lanolin, dirt or oils in the wool)
-Candy thermometer (optional but highly recommended)
-rubber gloves to protect your hands

1) Fill the sink or another large container with water and some synthrapol to wash the wool. You don't need a ton but it will depend on how much fabric you are dyeing. I dyed 1 1/2 yards of wool jersey and used 1/8 cup synthrapol. Let the wool soak for at least 1/2 hour. This is to insure that all the dirt, oils, and lanolin are removed so the fibers are extra clean to receive the dye the most evenly (don't skip this step!!).
Note: Wool blend needs to soak the longest, you will be able to see "dry" patches even though the material is immersed. Make sure these are gone before you take the fabric out.

2) Fill your dye pot 3/4 full, the more water the better, the more room for the wool to swirl about during the dyeing and the more even the dye job.


3) Add the dye to the dye pot. I don't measure the dye (although you certainly could and would get even more accurate results if you did.) I eyeball it and go by how dark the water looks. You want to add enough dye for the shade that you want but not so much that the fibers can't absorb it all and get over-saturated. Practice makes perfect and a little goes a long way - I've found. Generally more dye equals darker color. I have found that 100% wool interlock absorbs the most dye (and therefore needs the least to achieve the color you want). Stir the water so that all the dye dissolves.

For this dye job I used 1 1/2 yards of wool jersey with ~3/4 tsp of dye.

You can see how dark the water is where the white spatula is:


4) After the wool is done soaking you can rinse it if there are many many bubbles but if the water is mostly clear don't worry about the extra detergent. (I would rinse for sure if using dish detergent because there are dyes and fragrances in that that will get in the way of the dyeing.) Gently squeeze out as much water as possible and then put the wool into the dye pot. Stir the fabric for at least 1 minute to distribute the dye. The fabric will not take on too much dye at this point.


5) Turn on the heat to high and attach your candy thermometer to the side of the pot. You want to raise the temperature to 200 degrees fahrenheit, this is going to take a while with such a huge pot of water. It is important to start the wool at room temperature and raise the temperature gradually so that it doesn't felt. Don't heat the pot up without the wool in it and then add it later, you will be sorry!

6) Once you have reached 200 degrees (or just before boiling if you don't have a thermometer) it is time to add the vinegar, I added 1 cup of vinegar for this dye job. You want to push the wool away from the location where you will be adding the vinegar or it will leave black spots on the wool. Add the vinegar all at once and then stir for at least 5 minutes. This is when the dye will fix on the fabric, stirring is crucial! You want all sides of the fabric to meet the dye evenly to get an even dye job. You should begin to see the dye water lighten up as the dye goes into the wool and stays there.

Note: Vinegar is in excess in this situation, this means that as long as there is a small amount of vinegar your dye will fix. At the same time you can't really put too much in (with in reason) so don't worry too much about how much you add as long as you add around 1 cup.
 

7) After the water becomes clear stirring is no longer important. Let the pot stay around 200 degrees for 30 minutes and then turn the stove off - don't let it boil: boil = felt.

You can see here, against the white spatula how the water is almost clear:

Note: If the water is not totally clear after 30 minutes you probably added too much dye. Don't sweat it. You can wash out most of the extra dye in the synthrapol rinse at the end. If you are really concerned with the dye running you can always re-cook the wool at 200 degree without adding anything after you rinse out the extra dye.

8) Let the pot and the wool cool down to room temperature by itself. Don't take that wool out and shock it with cold air or you will felt it.

And here the water is totally clear after heating for 30 minutes and letting it cool.
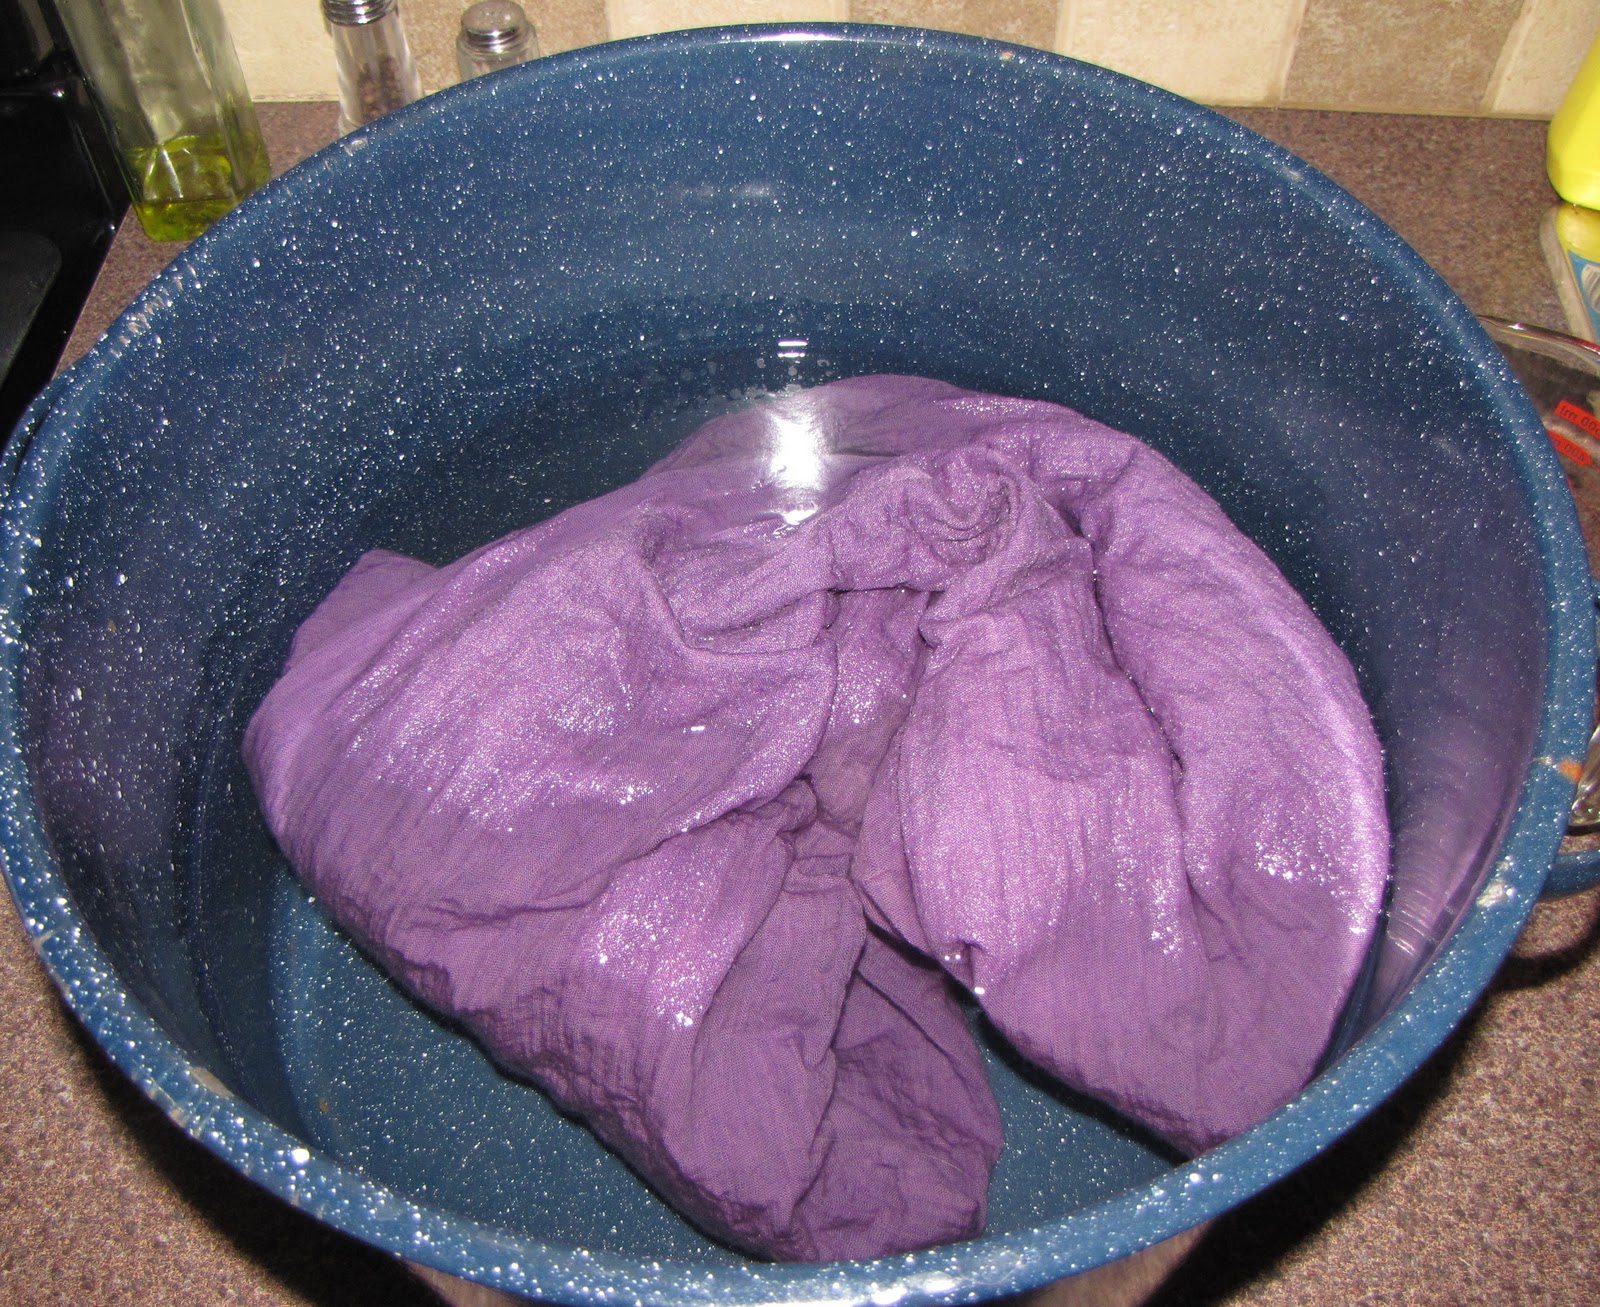

9) Once the wool is cool, take it out and wash it in another synthrapol bath. This removes any extra dye. Rinse and then ring out and let dry. Normally I felt wool at least a little bit so washing it in the washer on warm and drying on medium in the dryer at this point works for me. You have to determine if this will work for you (I would not do this with knit longies for example). If not you can always hang the fabric to dry (not in the sun!).

Here it is in the synthrapol bath:


10) Sew up some ADG longies with your lovely dyed wool fabric! :)


Friday, July 23, 2010

Dyeing with Procion Dyes in the Washer

Procion dyes are for dying plant fibers such as cotton, bamboo, linen,..... they are fixed with soda ash (aka washing soda) and don't need high heat, although some darker colors can be achieved with higher temperatures. These are instructions to be used in a top-loader washing machine.

Dharma Trading Company had a huge number of procion dyes available in any color imaginable so it is really fun to take a white or natural fabric and change it over into some fabulous new color!

There are a lot of things you need to work with procion dyes to achieve the best possible dye job however you don't need them all in order to get the dye on the fabric.

Materials:

-Procion dyes (buy at Dharma Trading company or your local Art store)
-Plant based fabric (cotton, bamboo, linen,...)
-soda ash (called washing soda at the grocery store)
-urea (optional, buy at Dharma, helps to get more even dye jobs and more intense turquoise colors).
-Calsolene oil (optional, buy at Dharma, helps dye dissolve for less uneven results).
-Synthrapol (you can use dish detergent but synthrapol has no dyed or fragrances to stick to your fabric in place of your dye)
-non-iodized salt (necessary for dark colors - buy from an animal feed store)

Steps:
1) Wash all fabric in warm water with synthrapol or dish detergent.

2) While the fabric is washing mix up your warm urea solution. Mix 1 tablespoon of urea in 1 cup of water. Use warm water and not hot. Hot water and urea make toxic fumes. It is a good idea to measure your urea in a ventilated area or wear a dust mask. The urea will dissolve fairly quickly if you give it a good stir. If you don't have any urea, skip this step.


3) Mix up your dye solution. I usually use 1 tablespoon of dye per yard of fabric but you may need more or less depending on the weight/density of your fabric and how dark you want it to dey. Some of Dharma's dyes specify that you need to add more depending on the color.

Place the dry dye into a container and add 1 tablespoon of Calsolene oil. Fill the cup with just enough hot water to wet the dye and mix into a paste.


4) Add the dissolved urea to the dye and stir until everything looks dissovled.


5) Make the soda ash solution by dissolving your soda ash in water. I usually use 1/3 cup soda ash in 2 cups of water per yard of fabric. Dissolving the soda ash in water is an exothermic reaction, this means heat is created and released, so don't be surprised! You have to stir for a while to get it to completely dissolve.


6) When your fabric is done washing, take it out wet and store it somewhere clean.

Turn your washer to the longest setting on warm and fill the empty washer. Add 3 cups of non-iodized salt per yard of fabric. The salt is necessary to achieve dark colors, you can omit it for lighter shades but you simply cannot get dark colors without it. You can buy small amounts of non-iodized salt at the grocery store but it is far far cheaper at an animal feed store.


7) When the washer is full, pour in your dye mixture and let it stir for 1o minutes. Set your oven timer so you don't forget and let the dye drain out of the washer.


8) When the timer goes off put in your wet fabric and set back the washer so it doesn't empty on you and you loose all your dye. Set the timer for another 10 minutes.


9) When the timer goes off again, set back the washer. Push the fabric to one side and add the soda ash a little at a time. Pour the soda ash into the washer as far from the fabric as possible and stir the water a bit before turning on the washer to make sure it doesn't splash up against the fabric, it will leave dark spots if it does. Set the timer for 3 minute increments until all the soda ash solution is added. Set back the washer again if needed. Set back the washer and set the timer for another 10 mintues after all the soda ash is added.


10) Keep setting back the washer and resetting the timer so that the fabric stirs with the soda ash for at least 30 minutes. Don't forget that timer or you will forget to turn the washer back and all the dye will go down the drain! ack!

11) Let the wash continue on its cycle and allow the dye to drain away.

12) When the washer has finished it's cycle wash the fabric again in synthrapol and do an extra rinse. If you are dyeing a very dark color consider doing another complete wash to insure all extra dye is washed away.

13) Dry in the dryer and enjoy your lovely new fabric!

Here I dyed black (well really it came out a dark charcoal), better blue green, and maroon brown on cotton french terry for sweat pants for the boys.

And fuschia red and lilac on cotton velour for Shiloh. What rich colors!!! I love it!


Friday, July 9, 2010

Dyeing Playsilks

Now that you have your acid dyes for your wool blend you can use them to dye other animal fibres like silk! (Acid dyes work on all animal fibers and also nylon).

Dyeing playsilks is quick and easy. I did 6 in under 45 minutes! The silk is so thin that it takes the dye very quickly. If you plan how you add your dyes, you can do many colors by just using two pots.

You can buy white playsilks and acid dyes and Dharma Trading company.


First you need all your materials:
-acid dyes
-synthrapol detergent
-white vinegar
-large and small spoons
-large not-going-to-be-used-for-cooking pots (ceramic or stainless steel)
-playsilks
-large garbage bag
-rubber gloves
It is a good idea to wear rubber gloves throughout, you are working with hot water and some chemicals.

1)Wash all playsilks in synthrapol detergent. This removes dirt, grime, natural oils,....anything that will get in the way of the dye sticking. You can use dish detergent but this has fragrances and other additives that will stick to the silk and prevent the dye for being as even.


2) Rinse out the playsilks.

3) Cut your garbage bag open and tape it to the floor.


4) Fill pots 1/2 full with hot water (this makes them heat up faster instead of starting from cold water).


5) Put pots on the stove and turn the elements to high heat.

6) Add the dye while the pots are heating up. You really don't need very much at all, 1/2 tsp at the most for up to 6 playsilks.


Here is where you need to plan:

You want to use the lighter colors in the pots first so that you can add darker dyes as you go to get the most colors from just two pots. I started with orange in one and turquoise in the other. I added red to change the orange pot to red. I used red and turquoise on some of the playsilks and then added purple to the red dye to get a wine color. Depending on the darkness of the color you may get mixing or you may get the true color of the second dye added. For example, red covered orange entirely but red and purple combined to make wine. Then I added spruce to the turquoise pot to get a dark teal color. I dipped the silks at different times to take advantage of all the colors.

7) Check the temperature with a candy thermometer (purchased at the grocery store). When the pot reaches 120F (just below boiling) you can add 1 cup vinegar per pot. The vinegar fixes the dye (don't forget it!!).


8) It is now time to add the playsilk to the pot.

Take the playsilk and stretch it out so that it is completely unfolded. If you would like a diagonal pattern, put two opposite corners together and then put one corner into the dye. You can also put two opposite corners into the dye at the same time, leaving the middle of the playsilk out. Then you can dye the middle of the playsilk with another color. You can experiment with this! If you would like vertical dyeing (as opposed to diagonal) then fold the playsilk in half by aligning the vertical edges and then dye as above.

Hold the playsilk for at least 2 minutes in the dye. Longer will give darker shades, shorter will give lighter shades.


9) Once you have dyed the playsilks how you want with the first colors, lay them on the garbage bag so that no two colors are touching. If they touch they may run into each other.


10) Add another color to each pot and dye some more playsilks. Keep going until you get through all the colors you planned or run out of playsilks!

11) Throw them all into the washing machine with synthrapol and wash on warm with an extra rinse at the end. The colors will not run in the presence of synthrapol.

12) Dry in the dryer.

13) Admire your hard work!

I made these six as party favors for Cai's 5th birthday party:)


Saturday, June 26, 2010

The mystery of Dyeing Wool Interlock Revealed!

I wanted to share my methods for dying wool interlock (you can also dye wool jersey this way). It is actually super duper easy in a top loader washing machine. (I plan to due a tutorial for stove-top dyeing at a later date.) If you want to dye 100% wool interlock you need to do it over the stove because it will felt too much in the washer.

**Note: If you have a new HE top loader dyeing will not work because the washer doesn't fill with water the same way old top loaders do.**

First off get your materials:
-wool interlock (buy from Nature's Fabrics)
-Detergent (Synthrapol or Dish detergent) (Synthrapol is better because it does not have dyes and fragrances that can stick in your fabric and prevent the dye from binding but dish detergent will do in a pinch)
-Acid dyes (buy from Dharma Trading Company)
-White Vinegar (from you grocery store)
-Tiny spoon for the dye
-Large spoon to manipulate the fabric in the washing machine
-1/2 cup measuring cup for the vinegar/detergent

1)Turn up your hot water heater to the hottest and tell your family so no one burns themselves!

2)Put the unwashed, unfelted wool blend interlock into the washing machine and add 1/2 cup/yd detergent if you are using synthrapol. A few squirts if you are using dish detergent. Wash on the shortest cycle in warm water.

3) Take out the wet wool and put it aside.

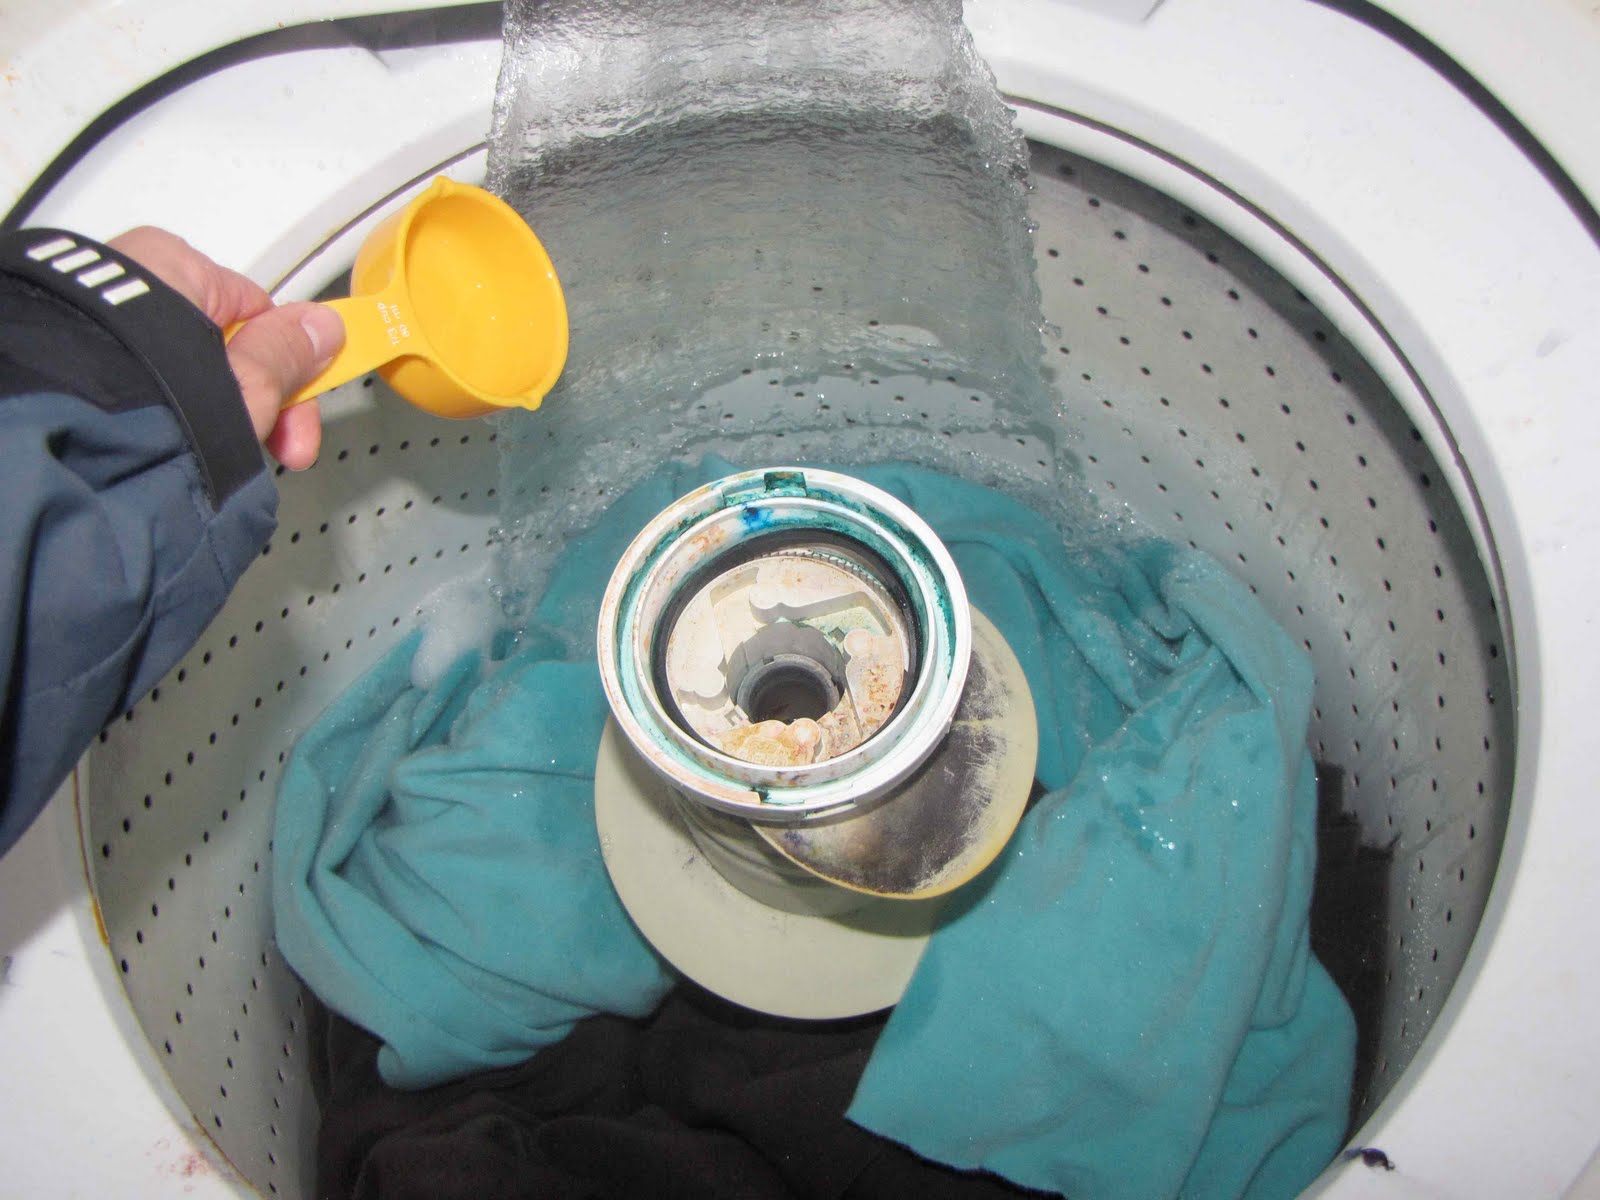
4) The hot water heater will have heated up by now. Turn the washer to the hottest, largest, longest setting and allow the washer to fill up with water. (Make sure the washer is empty!)

5)Listen for when the washer is done filling. Open it up and put in the dye. You need about 1 tsp per yard of wool blend. You can add less to get a lighter color.


You are limited by the temperature of the water as to how dark you can dye. If you need a really dark color you need to dye on the stove top where you can get hotter temperatures. You can experiment with how much dye to use to get your desired colors.

6)Close the lid to the washer and let it agitate for at least 2 minutes to dissolve the dye.

7)Put the wet fabric in the washer and close the lid to let the dye agitate with the fabric for at least 2 min.


8)Open the lid and use the big spoon to move the fabric all to one side. (This is important or you will get splotches from the vinegar splashing on the wool.)


9)Add 1/2 Cup of vinegar for each yard of wool blend. Pour it as far away from the wool as possible.


10) Close the lid and let the washer finish it's cycle.

11) When the dye cycle is finished start a new cycle on warm with the same amount of detergent as you added in step #2. Use an additional rinse cycle after the wash is done. This is to wash out any extra dye. (I was dyeing more than one color and am now washing all the colors together, the dye will not run with the detergent there.)


12) Dry on hot in the dryer.


13) Admire your rich dye job! Time to sew!


LinkWithin