


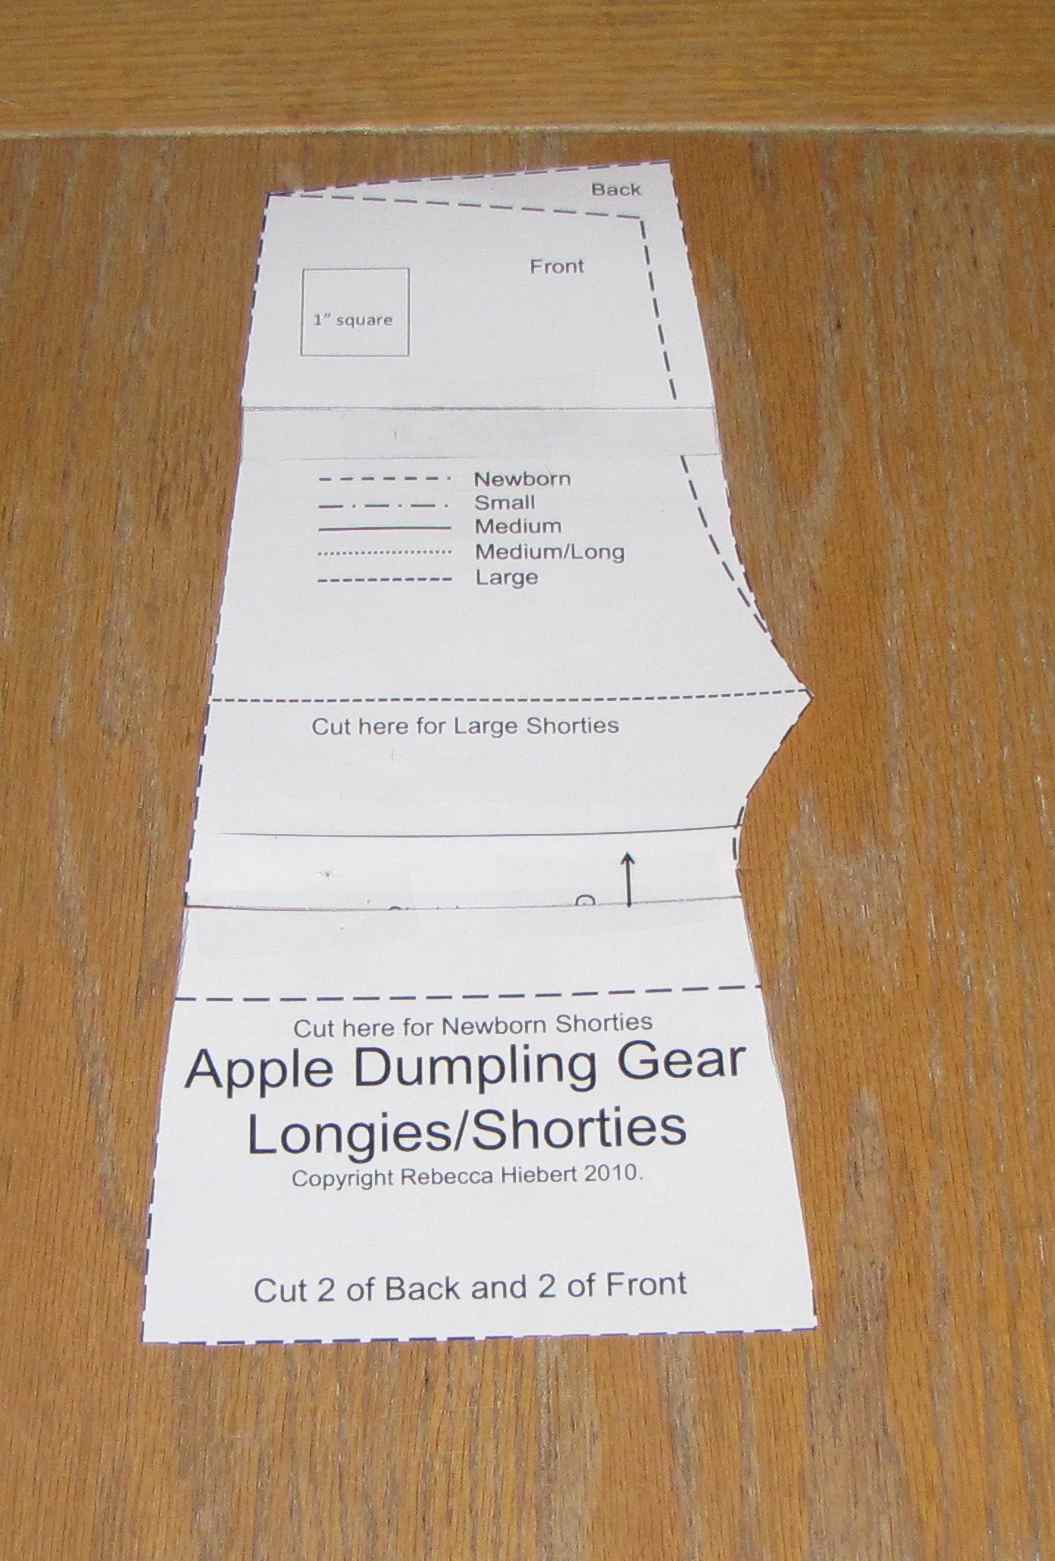
1) Print out the pattern in the size you want. You are going to need to print it twice, once for the front and once for the back. You will need to modify both the front and back pattern pieces.

Firstly I am going to make the rise longer on the back pattern piece of the newborn size. The same procedure applies to making the inseam longer.
When measuring for rise take into account the 1/4" seam allowance at the top and bottom of the rise second of the pants.
2) You can't just add more length to the top or bottom of the pants (or shorts) because that will change the shape of the pants - if you don't believe me try it and then compare it to when you do it my way:)
You need to draw a line horizontally across the pattern in a place where the sides of the pants are as close to parallel as possible. You can use the cutting lines as a guide to make sure the line is perfectly horizontal.
3) After drawing the line, cut along that line.

4) Tape a piece of scrap paper to the back of the pattern piece extending beyond the line, and draw another line on the scrap paper showing how much rise you want to add. Draw a new line 1/2" above the old line, in this case I drew my new line 1/2" above because I wanted to add 1/2" to the back rise.

Note!!!!! Please remember that when adding to the rise you are adding it twice: once to the front and once to the back. Therefore by adding a 1/2" to the back I will also add a 1/2" to the front and will add an overall 1" to the rise. (If you don't do this the pattern pieces won't line up.)
5) Tape the top of the pattern piece along the new line, centering as much as possible with the bottom pattern piece.

6) You will probably need to "true" the pattern to make the sides line up properly, you can do an approximation for this, just make sure that the front and back pattern pieces are the same so that when you sew them together they line up.

7) Repeat for the front pattern piece. Place the front on top of the back and make sure they line up where they should.
Now I will make the inseam shorter. The same applies to making the rise shorter.
Note: When measuring for the inseam take into account the 1" hem allowance at the bottom and the 1/4" seam allowance at the top.
1) Draw a horizontal line across the width of the pattern and cut along this line.

2) To make the rise shorter you want to remove paper from the pattern. I wanted to reduce my inseam by 3/4" so I drew a line 3/4" above the cut line and cut along this line. By removing this small piece I am shortening the longies by 3/4".

Note: When modifying the inseam the amount you take off or add on is the amount that inseam will change by, it will not be doubled as it is with the rise.
3) Tape the two pieces back together centering the bottom and top pieces as best you can. True the edges of the longies.

4) Repeat for the front pattern piece. Place the front on top of the back and make sure they line up where they should.
Go ahead and sew your custom longies or shorties!!


No comments:
Post a Comment