


My preferred method for dying wool blend (95% wool, 5% lycra) is in the top-loading washing machine, you get the most even coverage and very rich colors. However, you can't dye 100% wool interlock in the washer because it over-felts and not everyone has a top-loader so here is the tutorial for those who want to dye on the stove top. I happen to be dyeing 100% wool jersey here.
This would also be a great way to dye a wool sweater or something else already knit up.
Following these techniques I have been able to achieve very even dye jobs, I have really fine tuned these steps so I would suggest following them fairly closely:)
First get your materials:
-Large pot, the larger the better, the more room the wool has to move the more evenly the dye job
-acid dyes (I buy Jacquard acid dyes from Dharma Trading)
-vinegar (white from the grocery store)
-small spoon for adding the dye
-large spoon for stirring the wool
-1 cup measuring container for the the vinegar
-synthrapol or dish soap (to remove any excess lanolin, dirt or oils in the wool)
-Candy thermometer (optional but highly recommended)
-rubber gloves to protect your hands
1) Fill the sink or another large container with water and some synthrapol to wash the wool. You don't need a ton but it will depend on how much fabric you are dyeing. I dyed 1 1/2 yards of wool jersey and used 1/8 cup synthrapol. Let the wool soak for at least 1/2 hour. This is to insure that all the dirt, oils, and lanolin are removed so the fibers are extra clean to receive the dye the most evenly (don't skip this step!!).

2) Fill your dye pot 3/4 full, the more water the better, the more room for the wool to swirl about during the dyeing and the more even the dye job.

3) Add the dye to the dye pot. I don't measure the dye (although you certainly could and would get even more accurate results if you did.) I eyeball it and go by how dark the water looks. You want to add enough dye for the shade that you want but not so much that the fibers can't absorb it all and get over-saturated. Practice makes perfect and a little goes a long way - I've found. Generally more dye equals darker color. I have found that 100% wool interlock absorbs the most dye (and therefore needs the least to achieve the color you want). Stir the water so that all the dye dissolves.
For this dye job I used 1 1/2 yards of wool jersey with ~3/4 tsp of dye.
You can see how dark the water is where the white spatula is:

4) After the wool is done soaking you can rinse it if there are many many bubbles but if the water is mostly clear don't worry about the extra detergent. (I would rinse for sure if using dish detergent because there are dyes and fragrances in that that will get in the way of the dyeing.) Gently squeeze out as much water as possible and then put the wool into the dye pot. Stir the fabric for at least 1 minute to distribute the dye. The fabric will not take on too much dye at this point.

5) Turn on the heat to high and attach your candy thermometer to the side of the pot. You want to raise the temperature to 200 degrees fahrenheit, this is going to take a while with such a huge pot of water. It is important to start the wool at room temperature and raise the temperature gradually so that it doesn't felt. Don't heat the pot up without the wool in it and then add it later, you will be sorry!
6) Once you have reached 200 degrees (or just before boiling if you don't have a thermometer) it is time to add the vinegar, I added 1 cup of vinegar for this dye job. You want to push the wool away from the location where you will be adding the vinegar or it will leave black spots on the wool. Add the vinegar all at once and then stir for at least 5 minutes. This is when the dye will fix on the fabric, stirring is crucial! You want all sides of the fabric to meet the dye evenly to get an even dye job. You should begin to see the dye water lighten up as the dye goes into the wool and stays there.
Note: Vinegar is in excess in this situation, this means that as long as there is a small amount of vinegar your dye will fix. At the same time you can't really put too much in (with in reason) so don't worry too much about how much you add as long as you add around 1 cup.

7) After the water becomes clear stirring is no longer important. Let the pot stay around 200 degrees for 30 minutes and then turn the stove off - don't let it boil: boil = felt.
You can see here, against the white spatula how the water is almost clear:

Note: If the water is not totally clear after 30 minutes you probably added too much dye. Don't sweat it. You can wash out most of the extra dye in the synthrapol rinse at the end. If you are really concerned with the dye running you can always re-cook the wool at 200 degree without adding anything after you rinse out the extra dye.
8) Let the pot and the wool cool down to room temperature by itself. Don't take that wool out and shock it with cold air or you will felt it.
And here the water is totally clear after heating for 30 minutes and letting it cool.
9) Once the wool is cool, take it out and wash it in another synthrapol bath. This removes any extra dye. Rinse and then ring out and let dry. Normally I felt wool at least a little bit so washing it in the washer on warm and drying on medium in the dryer at this point works for me. You have to determine if this will work for you (I would not do this with knit longies for example). If not you can always hang the fabric to dry (not in the sun!).
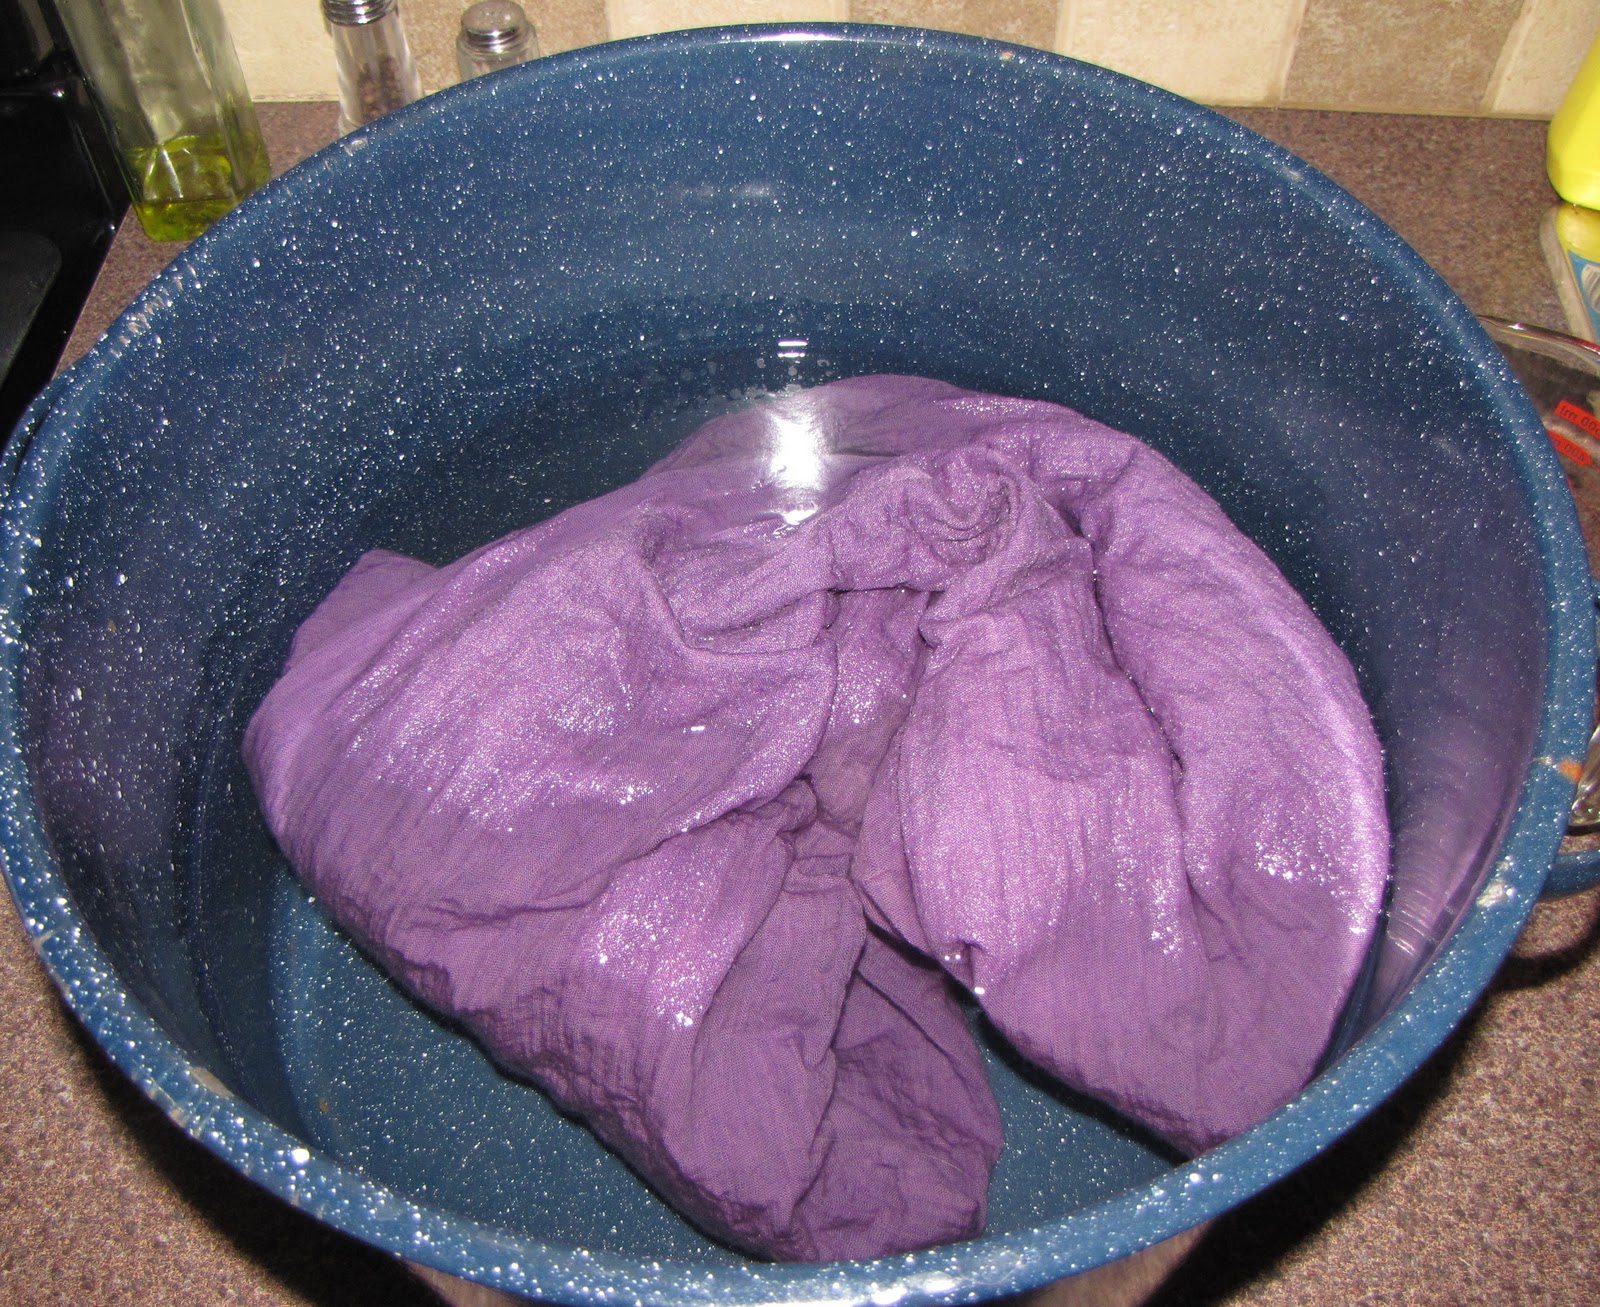
Here it is in the synthrapol bath:

10) Sew up some ADG longies with your lovely dyed wool fabric! :)


5 comments:
WHEE!! So glad I found this---thank you. You mention several times of things to NOT do (lest you felt the wool). I have already washed/felted my wool…I thought it would be better for the diaper cover that way? Easier to wash (without being over-cautious). Point being…will already-felted wool dye just fine? (it's a 95/5 interlock)
(subbing)
I have dyed wool that has already been felted. It is not a problem:)
Do you recommend dyeing the fabric before sewing the finished item?
Products listed on our website are either in stock or can be resynthesized within a reasonable time frame. Indigo
Post a Comment